This is step three of a THREE step walkthrough on how to make your own AstroBox Touch. Enjoy!
Flashing Steps
Follow these steps to flash your image:
1. Download and install Etcher.
2. Download and unzip The AstroBox Touch Image.
- Do NOT use any other image than the one above.
3. Insert an SD Card in your computer ( min. 8 GB ).
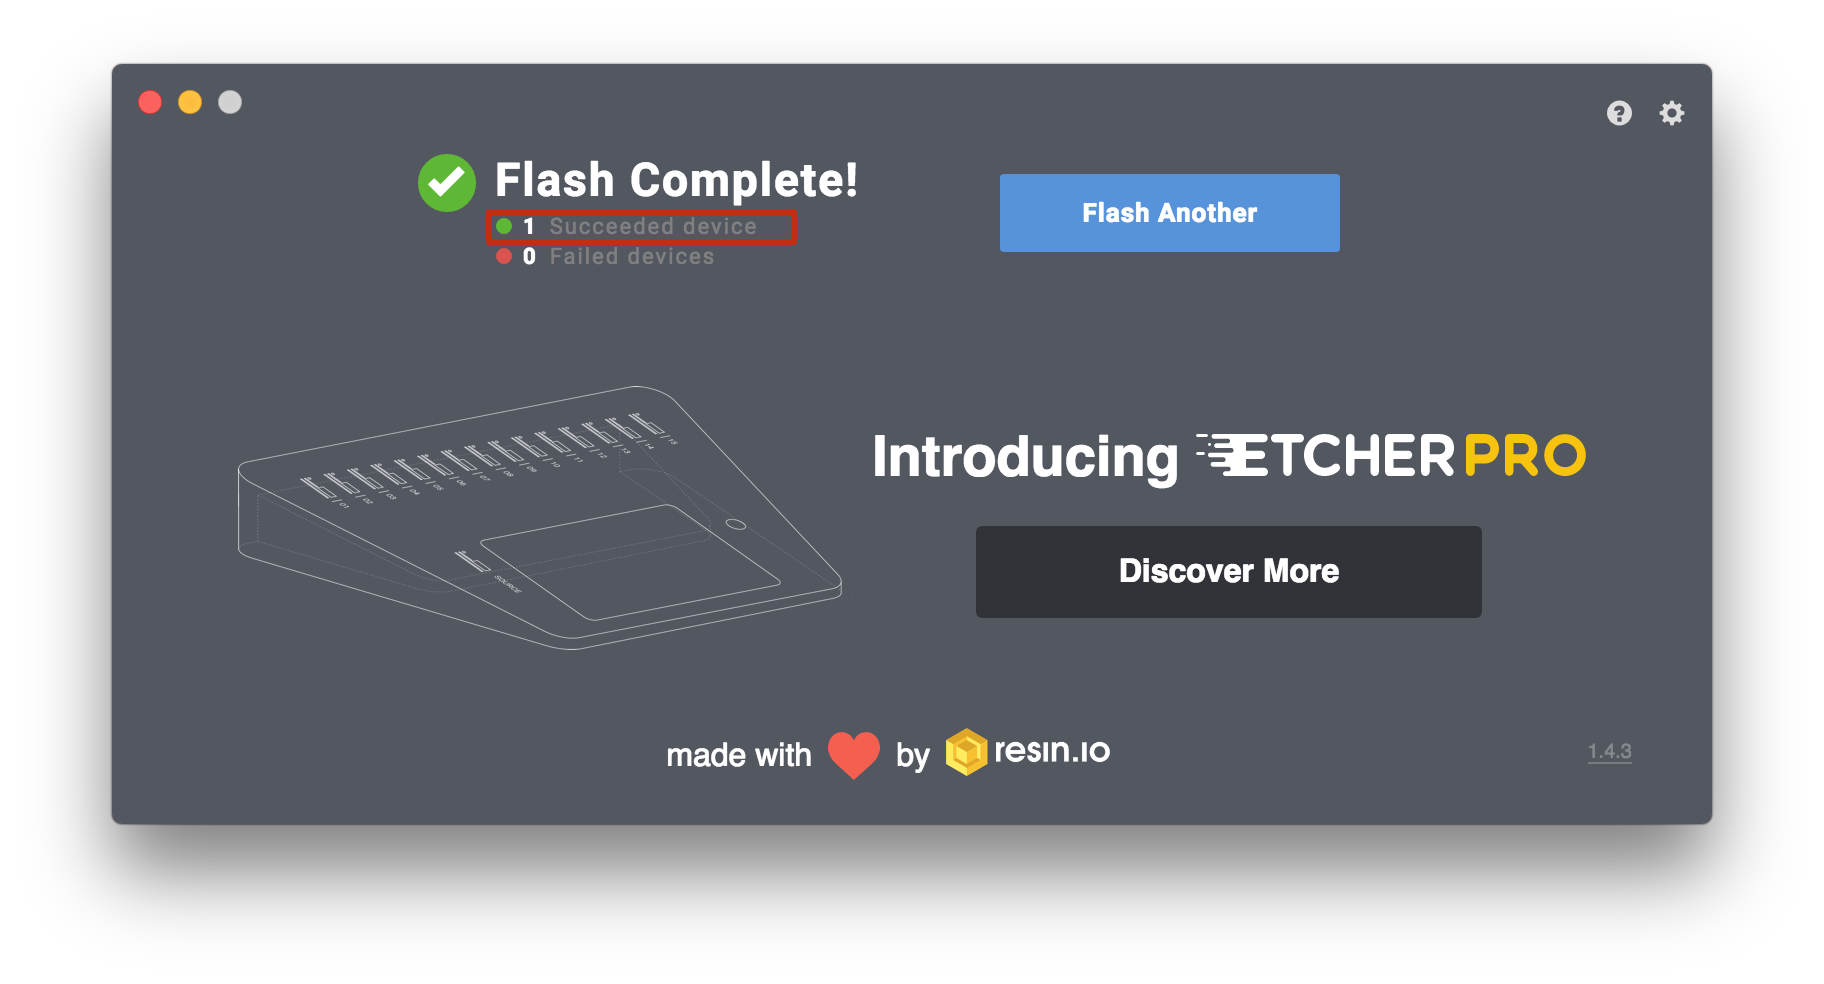
4. Using Etcher, flash the .img file you resulting from Step 2 above.
- Ensure "Validate write on success" is enable to make sure your card and/or card reader and in good state.
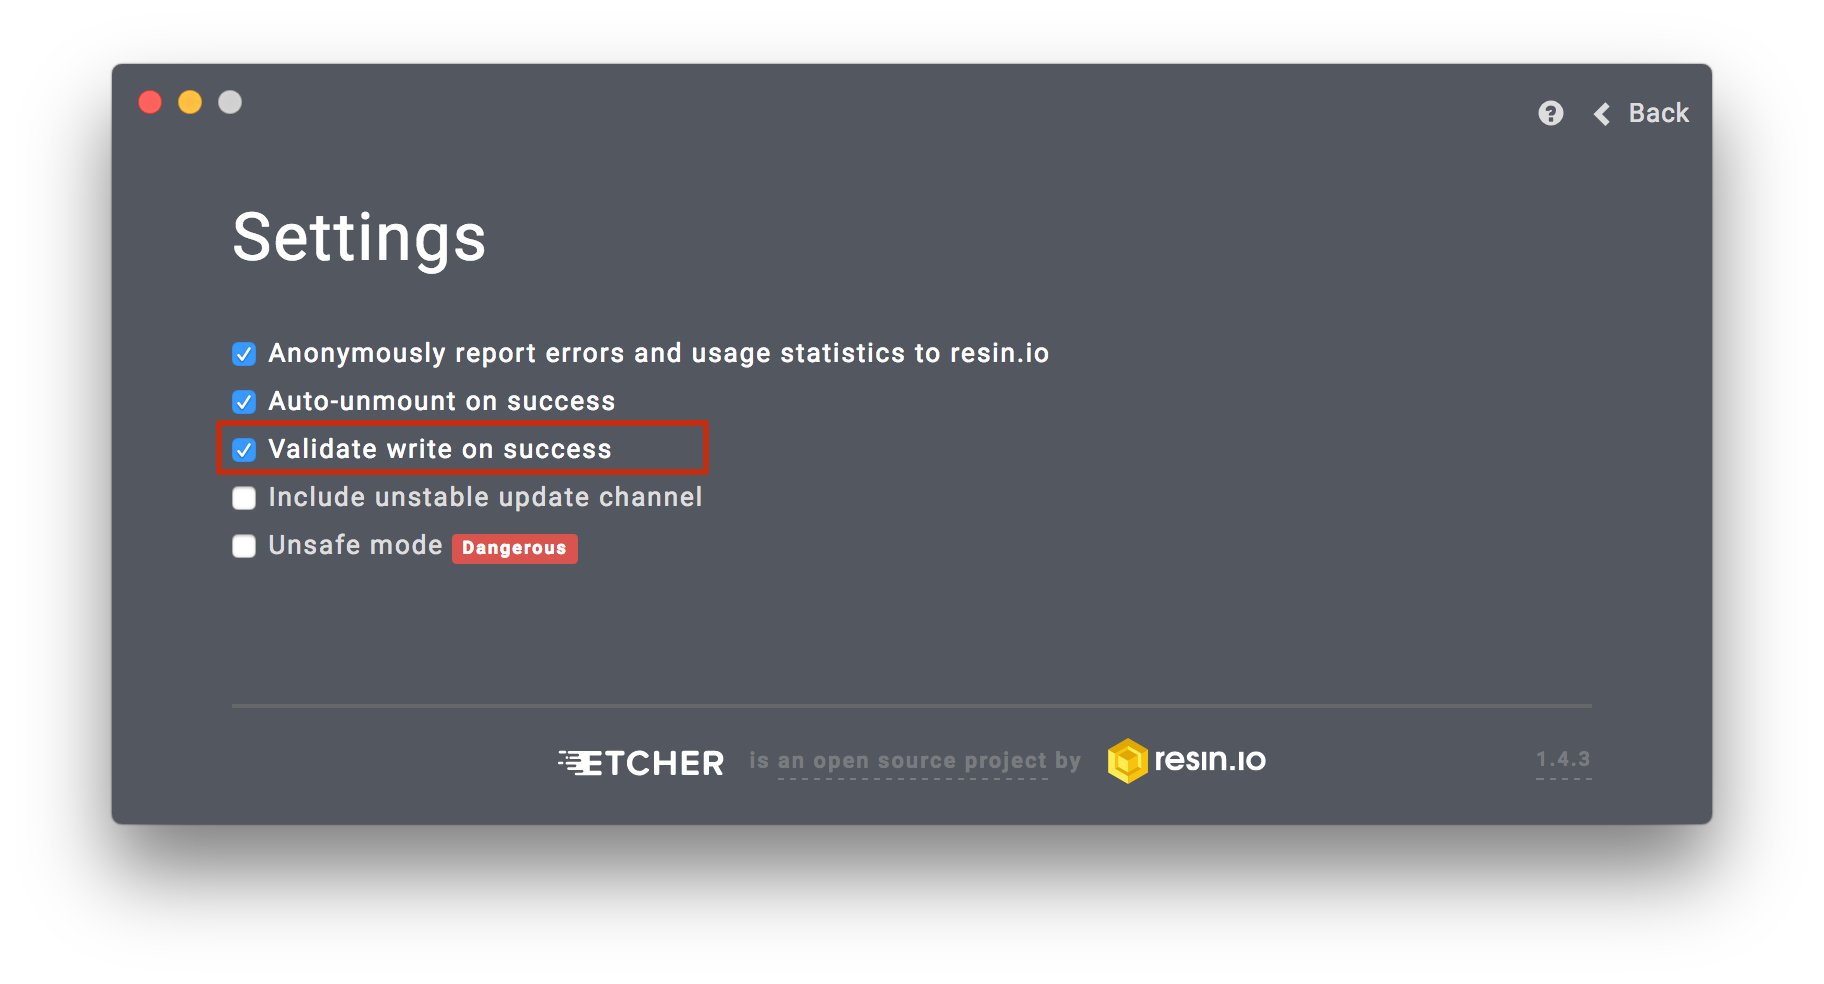
- Ensure that the flashing and validation processes complete successfully. If there are errors, it could indicate that your SD Card is damaged and you should not use it for this.
5. Configure the screen using the astrobox-config.conf file.
Keep in mind that the file needs to be placed in the .astrobox directory BEFORE you insert the card and boot it on a RPi. Once the device has been booted once, the screen setup scripts won't be run again.
Go here for advanced instructions to setup or change your screen after you have already booted your Touch: https://astroprint.zendesk.com/hc/en-us/articles/360031893492-Configure-a-different-touchscreen-on-an-existing-AstroBox-Touch
DON'T edit this file, use the file links provided in the table below. If you're an advanced user and need to edit it, don't add spaces between on either side of the "=" and keep the current return lines.
The file contains 3 variables:
- SCREEN_SIZE: the pixel size of the screen in this format widthxheight (e.g. 480x320)
- SCREEN_DRIVER: The name of the driver for the supported screens.
- hdmi
- waveshare35b_r1
- waveshare35b_r2
- waveshare35a
- SCREEN_ROTATE: Whether the screen should be vertically flipped (rotated 180 degrees). Values are n o y.
The following table shows the values for the support screens and provides a link to a conf file for each for them:
| Screen | SCREEN_SIZE | SCREEN_DRIVER | FILE |
| 480x320 |
waveshare35b_r1 |
||
|
The image comes preconfigured with this: |
480x320 | waveshare35b_r2 | Download |
| 480x320 |
waveshare35a |
||
|
WaveShare 5" HDMI Touchscreen |
800x480 | hdmi | Download |
Enable Hidden Directories to see .astrobox
By default your file manager might not see hidden directories such as .astrobox. You will have to enable this in order to see the .astrobox directory. Do NOT place the files in the SD Card root. This will not work.
6. Eject your card and insert it into your Raspberry Pi.
7. Apply power and wait for it to boot up.
During first boot, it's normal that the device reboots.
Create a Backup after first boot
We recommend that you make a backup copy of your SD Card right AFTER first boot, so you can restore in the future on your own without having to reset your license.